Sewing name labels onto school uniforms is an important task that every parent in New Zealand should know how to do. Not only does it help to keep track of your child’s clothing, but it also ensures that they come home with the correct items. In this blog, we will go through the step-by-step guide on how to sew name labels onto school uniforms.
Step 1: Gather the Materials:
To start, make sure you have the following materials ready:
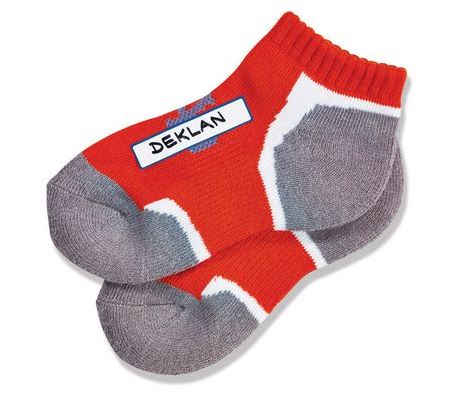
- Name labels:
Firstly, purchase name labels. There are various options available online. You can purchase from Precious Labels. We suggest using their labels as they are known for being the most durable and long-lasting. - School uniform clothing:
Whether it’s shirts, pants, skirts, or sweaters, gather all the items that require labeling. - Needle and thread or sewing machine:
Select your preferred sewing method, whether it be by hand or by using a sewing machine.
Step 2: Preparing the Labels:
Before sewing, it is important to prepare the name labels properly. Carefully cut the name labels according to the desired size.
Step 3: Positioning the Labels:
Now it’s time to position the name labels on the clothing. Ensure that you locate a discrete spot on the garment, such as the inner side of collars, waistbands, or near the tags. Choose a spot where the label will remain visible but won’t interfere with comfort. Once you’ve found the ideal spot, pin the name label in place by ensuring it is secure and centered.
Step 4: Sewing the Labels:
Here are two methods to sew the name labels:
- Hand-sewing method:
Start by threading your needle and knot the end of the thread. Stitch around the label. Using a running stitch or a backstitch, sew along the edges of the name label. Make sure to sew through the label and the garment fabric for maximum durability. Once you’ve stitched around the entire label, knot the thread securely. Trim off any excess thread.
- Sewing machine method:
Set up your sewing machine with the appropriate thread and needle. Place the garment under the sewing machine’s presser foot. Slowly guide the garment and label under the presser foot, stitching along the edges of the name label. Be careful not to stretch or pull the fabric. After completing the sewing, cut the thread and remove the garment from the machine.
Step 5: Finishing Touches:
Give your sewn name labels a final touch. Carefully remove the pins from the garment & make sure not to snag the threads. Inspect the sewn label to ensure it is securely attached. If necessary, reinforce any loose stitches.
In conclusion, sewing name labels onto school uniforms is a quick and easy task that can save your time and money in the long run. By using durable sew-in labels and ensuring that they are securely attached, you can ensure that your child’s clothing remains properly labeled throughout the school year. So, go ahead & give it a try – your child will thank you for it! Shop your label from here- www.preciouslabels.co.nz