Clothing labels are more than just a form of identification. They serve as a symbol of quality, branding, and personalization. Sewing on clothing labels with precision is an art that can elevate your garments and showcase your attention to detail. In this blog, we’ll explore the importance of sewing on clothing labels and provide valuable tips to master this skill.
Why Sewing on Clothing Labels Matters:
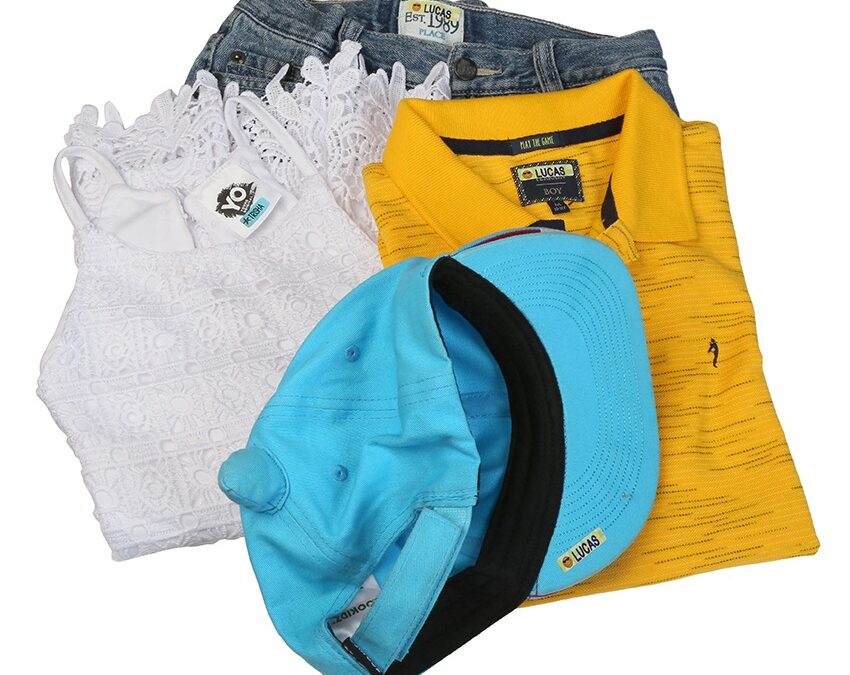
Clothing labels are an essential part of any garment, which includes vital information such as brand name, size, fabric composition, care instructions, and more. Accurate sewing gives them a professional touch. Additionally, it aids customers in choosing the products they purchase.
Tips for Sewing on Clothing Labels:
- Choose the Right Label Material:
Choose labels that match the fabric and kind of clothing before you begin sewing. Think about factors like comfort, colorfastness, and durability. Choose materials that won’t fray over time and are simple to stitch.
- Placement is Key:
Determine the ideal location for your clothing label. Labels are often sewn onto the inside back or the region around the neck of the garment. Ensure that they are centered and straight. Use measuring tools like rulers or tailor’s chalk to mark the positions accurately.
- Thread Selection:
Use high-quality thread that matches the color of your label. It ensures a seamless blend and minimizes the visibility of stitches. Polyester or cotton threads are commonly used and offer good strength for securing labels in place.
- Needle Selection:
Choose a needle that suits the fabric type. For lightweight fabrics, use a smaller needle size to prevent visible punctures. Heavier fabrics require larger and stronger needles to penetrate the material.
- Stitching Techniques:
Use precise and neat stitches when sewing on clothing labels. According to your preference, you can opt for hand sewing or machine sewing. Hand sewing allows limited production, while machine sewing is faster for bulk production. Either way, use small and even stitches for a clean finish.
- Reinforcement:
To ensure the label remains securely attached, reinforce the edges by sewing around the label’s perimeter. It helps to prevent the label from fraying or detaching during washing or wear.
- Finishing Touches:
Once you have securely sewn the label, trim any excess thread. And inspect the garment for loose threads or stray fibers. Gently press the area to flatten and blend the stitches with the fabric.
Mastering the art of sewing on clothing labels is a valuable skill that adds professionalism and integrity to your garments. Precise placement, selecting appropriate materials, and attention to detail during stitching all contribute to a polished final product. Whether you are a fashion designer, a skillful seamstress, or an aspiring home sewer, making an effort to perfect this technique will enhance the quality and appeal of your creations.
Remember, sewing on clothing labels is more than just attaching tags; it’s a statement of craftsmanship and attention to detail that distinguishes your brand and enhances the overall garment experience for your customers. So, take your time, practice diligently, and embrace the art of sewing on clothing labels to elevate your garments to the next level. If you want to start your sewing journey, buy the best clothing labels here, www.preciouslabels.co.nz